

Ocean Breeze Nails: A Step-by-Step Summer Gradient Tutorial
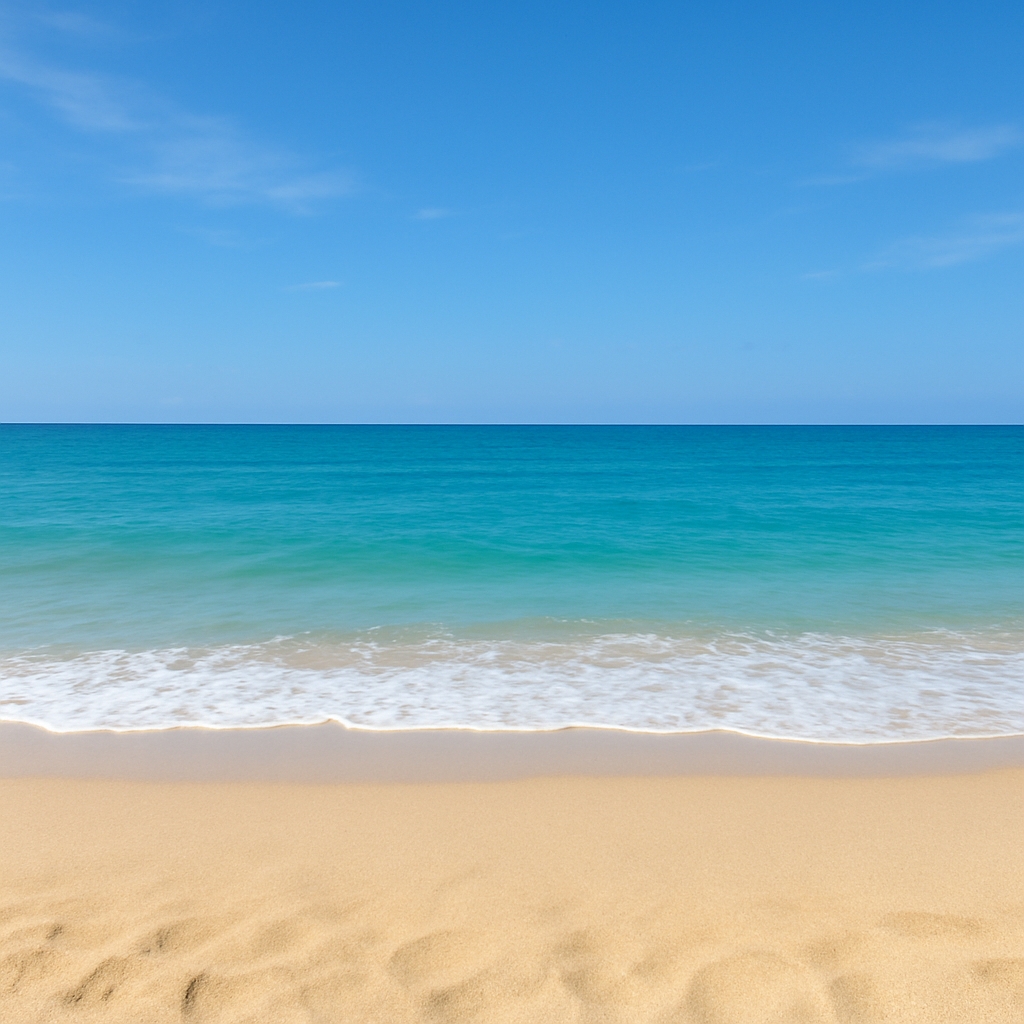
Picture this: you’re sitting somewhere warm, a light breeze is brushing past you, and the ocean is stretching out in front of you. The water shifts from pale sky blue near the horizon to a deeper turquoise at your feet. Now, imagine that same scene living on your nails. That is exactly what we’re going to create — a smooth blue-to-turquoise gradient, topped with tiny seashell and wave accents. The design looks like it could have taken hours at a salon, but you can absolutely achieve it at home with the right tools and a little patience.
What You’ll Need on Your Nail Table
Before we start painting, it’s best to have everything laid out in front of you. This makes the process much smoother and prevents polish from drying too soon while you search for tools.
You will need:
- A light sky blue nail polish
- A turquoise nail polish
- A white nail polish or white nail art paint
- A cosmetic sponge (a wedge sponge works best)
- A thin detailing nail art brush
- A glossy top coat
- A base coat
- A small dish of water and a clean-up brush or cotton swabs
- Nail polish remover
Optional extras that will add even more to the look:
- Small seashell nail charms
- An iridescent glitter top coat for extra sparkle that catches the light
Prepping Those Nails Like a Pro
Taking the time to prepare your nails properly will make the final result much smoother and longer-lasting. Here is how to prep:
- Start by shaping your nails into the style you prefer. Almond, square, or squoval shapes all work beautifully with this look.
- Push back your cuticles gently so the polish can sit neatly at the base of the nail.
- Buff the nail surface lightly. A smooth surface helps the gradient blend evenly.
- Apply a thin layer of base coat. This protects your natural nails and helps the polish adhere better.
Creating the Ocean Breeze Gradient
Now comes the fun part — blending the sky and the sea together on your nails.
- Paint a thin layer of the sky blue polish across the entire nail and let it dry completely.
- On your cosmetic sponge, apply a stripe of sky blue polish on one end and a stripe of turquoise on the other end. Slightly overlap the colors in the middle so they blend better.
- Gently press the sponge onto your nail, rolling it slightly from side to side to create a smooth gradient.
- Repeat the sponging process two or three times until you have the level of opacity you like, letting each layer dry for about a minute before adding the next.
- Use your clean-up brush or a cotton swab dipped in remover to tidy up any polish on the skin around your nails.
Adding the Seashell & Wave Accents
Once your gradient is dry, it is time to add the small details that give this manicure its beachy personality.
- Dip your thin detailing brush in white polish.
- For waves, paint three small curved lines stacked together, and add a tiny dot or curl at the end for foam.
- For seashells, paint a small half-circle and then add short, thin lines fanning outward from the curve.
- Space out your designs so the nails do not feel overcrowded. A little empty space makes the details stand out more.
Seal It and Shine It
A good top coat will lock in your design and give it a glossy, “just stepped out of the salon” finish.
- Wait a couple of minutes after painting the details so they do not smudge.
- Apply a smooth, generous layer of glossy top coat, making sure to cover the tips of your nails to prevent chips.
- Let the nails dry fully before using your hands so the shine stays perfect.
Extra Care for a Longer Beach Vacation (On Your Nails)
If you want your manicure to last, a little aftercare goes a long way.
- Wear gloves while washing dishes, scrubbing, or gardening.
- Reapply a thin layer of top coat every two or three days to keep the shine and strengthen the design.
- If you get a small chip, touch up the polish in that area and seal it with top coat so it blends in.
This set will have you showing off your nails in every beach selfie and summer photo. The gradient feels fresh and airy, and the seashell and wave accents add just the right amount of detail without making the design feel too busy.
LEAVE A COMMENT
Recent Posts


0.036