

How to Do a Perfect Gel Manicure Without a Salon
The Secret to a Flawless At-Home Gel Mani? It’s All in the Prep
Here’s the truth: if your gel manicure keeps lifting or peeling after a few days, the problem probably isn’t the polish—it's your prep. Every good gel manicure starts before you even touch a bottle of polish.
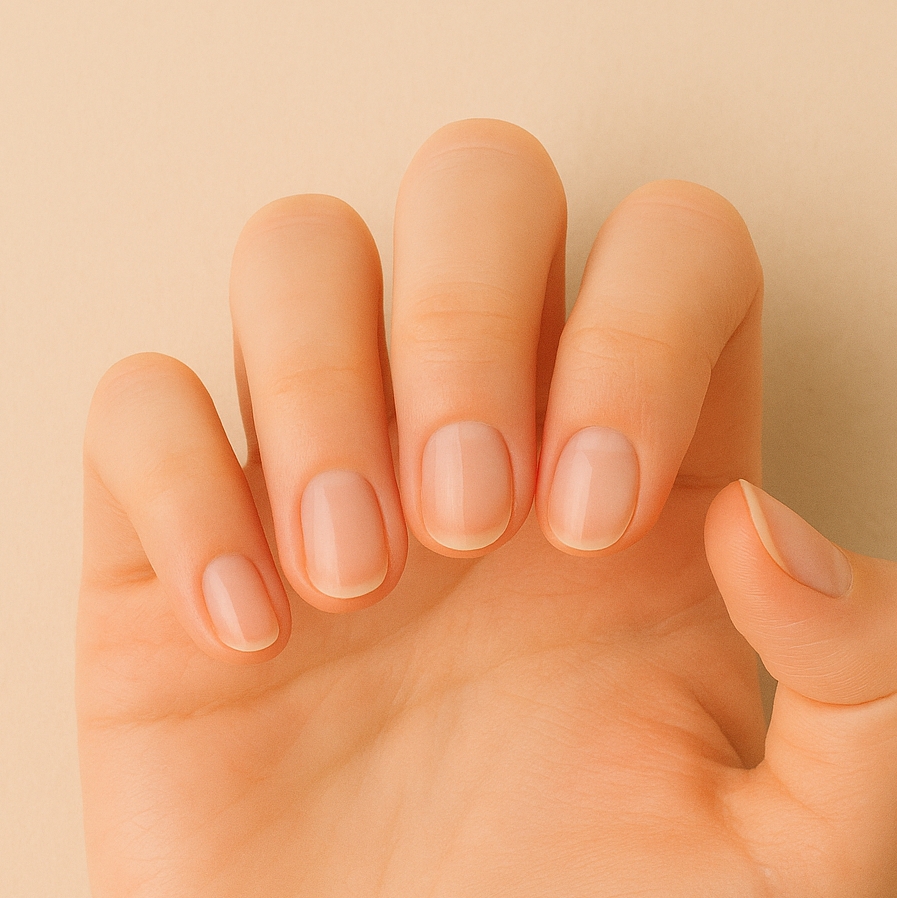
Start with clean, dry hands. No hand cream, no oils, no leftover polish. Just nails in their raw, natural state.
Here’s how I prep every client’s nails (and my own) before gel:
- Shape: Grab a 180-grit nail file and shape the nails how you like—oval, square, almond, whatever suits you. Always file in one direction, not back and forth like a saw. It keeps the edges smooth and helps prevent splitting.
- Cuticle cleanup: Push them back gently with a cuticle pusher. No need to go hacking away at your skin—this step is more about removing the dead skin that’s stuck to the nail plate. That’s what causes lifting. Use a cuticle remover if you’ve got one, or gently buff with a sponge buffer to lift that dry tissue.
- Buff the nail plate: Use a fine buffer block to lightly go over the surface. The goal isn’t to make them thin—just take off the shine. That’s how the gel grabs on.
- Dehydrate: This step is non-negotiable. Wipe each nail with alcohol or a nail cleanser to get rid of any oils. No cleanser? Isopropyl alcohol works fine. Just don’t skip it—oil is the enemy of gel.
Once the nails are shaped, cleaned, buffed, and completely dry, you’re finally ready for polish. But first—you need the right gear.
Tools of the Trade – What You Actually Need (and What’s a Waste of Money)
Let’s clear one thing up: you don’t need a suitcase full of fancy gadgets to get a great gel manicure at home. You just need the right basics—and a little patience.
Here’s what’s absolutely essential:
- A good LED or UV lamp (more on that in a sec)
- Nail file (180 grit is perfect for natural nails)
- Sponge buffer or fine grit buffer block
- Cuticle pusher or orangewood stick
- Lint-free wipes (cotton pads can leave fluff)
- Nail cleanser or alcohol
- Base coat
- Gel polish (preferably from a decent brand)
- Top coat
- Cuticle oil
Optional, but nice to have:
- Cuticle remover (especially if your cuticles are stubborn)
- Nail primer (helps with longevity if your nails tend to lift)
- Clean-up brush (for fixing messy edges before curing)
- Hand mask or scrub for a little self-care moment
Skip the gimmicks—like steamers or electric soak-off devices—unless you’ve got money to burn. They look cool on Instagram but don’t add much to your actual routine.
Let’s Talk Lamps – LED vs UV and Why It Matters
If there’s one thing you don’t want to skimp on, it’s your lamp. It’s the heart of your gel setup.
LED lamps cure faster and are more energy-efficient. Most modern gel brands are made to work with LED now, so if you're buying a new lamp, go LED.
UV lamps still do the job, but they take longer to cure and the bulbs need replacing over time. The only reason to go for UV is if your gel polish specifically says it needs one—which is rare these days.
When choosing a lamp, make sure:
- It’s at least 48 watts (don’t go lower, or you’ll end up with half-cured polish that peels)
- It has even bulb coverage, especially around the thumb area
- There’s a timer function, so you’re not guessing cure times
- Bonus if it has a low-heat mode (great if you get that burning sensation during curing)
And yes, you absolutely must cure each layer properly. No waving your hand around under a desk lamp—this isn’t regular nail polish. Without a proper cure, gel polish just won’t last (and can cause irritation if left under-cured).
Polish Like a Pro – Application Tricks Nail Techs Swear By
Now for the fun part—color. But don’t rush it. This is where most home manis go sideways.
Here’s what makes the difference between a bubble-free, smooth gel application and one that lifts or peels in two days:
- Thin layers only. I can’t stress this enough. Gel isn’t like regular polish—it doesn’t air dry. It needs to be thin to cure all the way through. Think of it like brushing on ink, not paint.
- Cap the free edge. This means swiping your brush across the edge of the nail tip. It seals the color and helps prevent chips. Do it on every layer: base, color, and top coat.
- Don’t flood the cuticle. If the polish touches the skin and gets cured there, it creates a ridge and lifts faster. Keep a tiny gap between your polish and the skin around your nails.
- Cure each layer properly. Usually 30-60 seconds under an LED lamp per layer, depending on your lamp and polish brand. If it still feels tacky, that’s normal—don’t over-cure.
Pro tip: If your hands get shaky, try bracing your painting hand with your pinky finger against your other hand. It gives you more control.
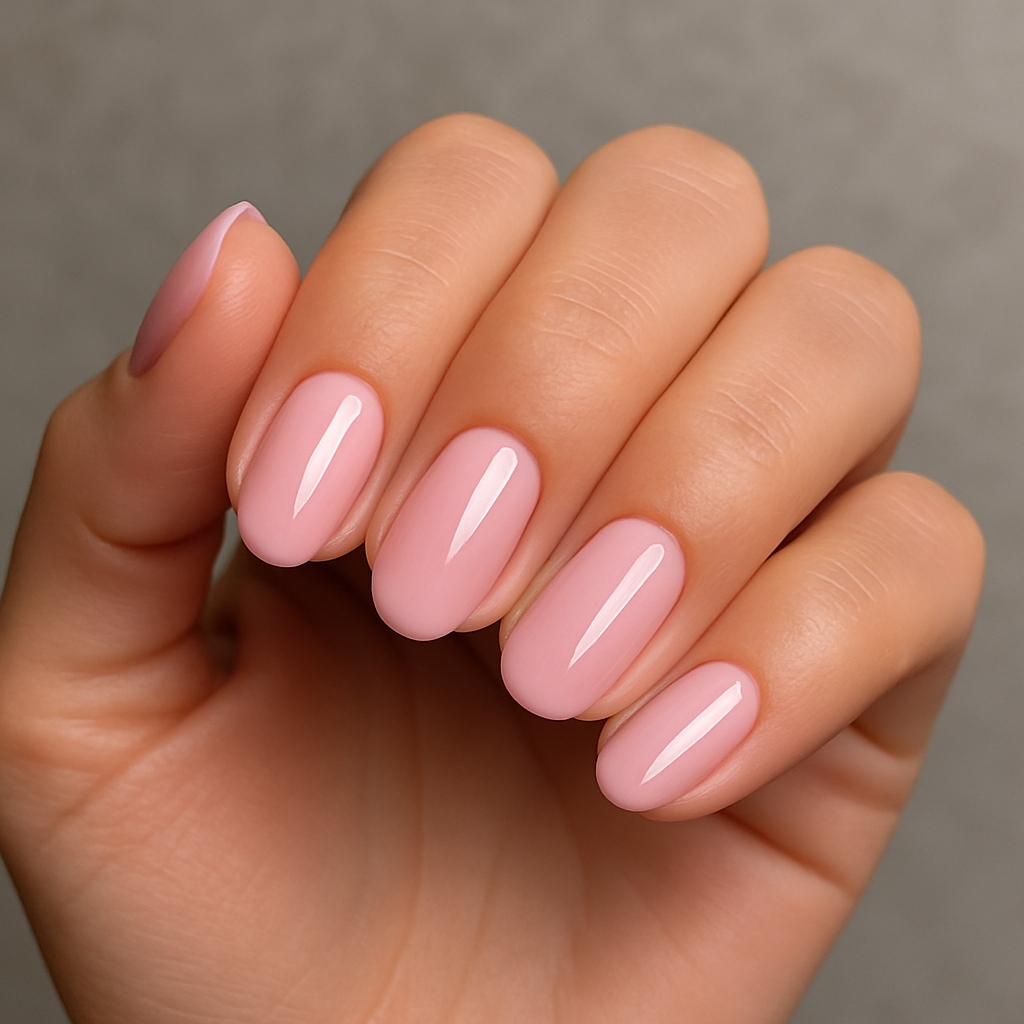
That Pro-Level Finish – Top Coat Tips and Avoiding the Dreaded Peel
That glossy, glassy finish you see on salon nails? It’s all in the top coat. And how you apply it matters just as much as the brand.
Go for a no-wipe top coat if you want zero fuss. These cure with a hard, shiny finish that doesn’t need alcohol to remove any sticky residue.
Tips for top coat perfection:
- Float the brush over the nail rather than pressing it down—you want a smooth glide
- Cap the edge (again!)
- Check for bubbles before curing—if you see one, pop it with a brush or reapply that nail
Once cured, your nails should be rock-hard and shiny. But don’t skip the next step, or you’ll miss the full salon feel. Great! Here's the continuation, picking up right where we left off—still in that friendly, nail tech voice, with practical advice you can actually use.
Wipe, Nourish, and Flaunt – The Final Steps for a Salon-Worthy Look
Once your top coat is cured, you’re probably staring at your nails thinking “Wow, okay, this actually looks good.” But before you start texting everyone about your newfound talent, let’s finish it off properly.
If you used a no-wipe top coat, you’re good to go—your nails are set and done. But if your top coat does leave a sticky layer (most do), you’ll need to remove that tacky finish.
- Use a lint-free wipe and some isopropyl alcohol (or a gel cleanser if you’ve got one).
- Gently wipe each nail to reveal that gorgeous, glossy shine underneath.
- Don’t use tissues or cotton pads unless you like fuzzy nails. Lint-free only.
Now for the part every nail tech lives by: cuticle oil. Rub it into the skin around your nails and let it soak in. This isn’t just for the Instagram photo. Hydrated cuticles = healthy nails. Plus, it softens the skin and makes your whole mani look polished and professional.
You’ve earned it. Take a moment, admire the shine, and enjoy how put-together your hands feel. There’s something about a fresh gel mani that just hits different.
Common Mistakes That Ruin a Gel Mani (and How to Avoid Them)
Let’s keep it real—everyone makes mistakes when they start doing gel at home. But most of them are easy to avoid once you know what’s going wrong.
Here are the biggest gel manicure sins I see (and yes, I’ve done them too):
- Skipping prep: Oily nail beds or leftover cuticle skin? Your polish is going to lift, no matter how expensive it is.
- Too thick: If you’re slapping on thick coats to get color coverage faster, stop. It won’t cure properly and you’ll end up with wrinkles or peeling.
- Touching your skin with polish: Even a little swipe on the side of your finger can lead to major lifting once it cures. Wipe it off before curing.
- Not capping the edge: This step takes two seconds but makes your mani last days longer.
- Over-curing or under-curing: Each layer needs its own cure time. Rushing it or overcooking it both cause issues. Stick to the times your lamp or polish recommends.
And my personal favorite: trying to fix it mid-cure. Don’t. Once it’s in the lamp, it’s set. Learn from it, file it down later, and try again next time.
Removal Without the Damage – Yes, You Can Soak It Off at Home
So you’ve rocked your gel mani for two weeks (maybe more), and now it’s time to take it off. Please, for the love of healthy nails—do NOT peel it off. I can always tell when someone’s been picking at their polish. The nail underneath looks thin, flakey, and sad.
Here’s the safe way to remove gel without damaging your nails:
-
File the top coat Lightly rough up the shiny surface with a 180 grit file. This breaks the seal and helps the remover penetrate.
-
Soak cotton pads in acetone Pure acetone works best. If you’re using regular nail polish remover, it’ll take forever and barely work.
-
Apply to each nail and wrap Place the soaked pad over your nail and wrap it in foil. You can use nail clips if you’ve got them, but foil works fine.
-
Wait 10–15 minutes Don’t rush. If you unwrap too early, the gel won’t lift. Patience pays off here.
-
Gently push the softened gel off Use a cuticle pusher or orangewood stick. If it’s not coming off easily, wrap it back up and wait another 5 minutes.
-
Buff and hydrate Once the gel is off, lightly buff the surface if needed and drench those nails in cuticle oil. Your nails have been through a lot—treat them kindly.
Done right, removal shouldn’t leave your nails feeling weak or sore. It’s all about patience and using the right tools.
Extra Tips from a Nail Tech – Keeping Your Manicure Fresh for Longer
You’ve done the hard part. Your nails are flawless, the top coat is shining like glass, and now the goal is to keep them that way.
Here’s what I always tell my clients:
- Gloves are your best friend: Washing dishes? Gardening? Cleaning with chemicals? Wear gloves. Water and cleaning products are your manicure’s worst enemies.
- Moisturize daily: Dry nails crack and peel. Use cuticle oil or hand cream (or both) every day. Keep a tiny bottle in your bag or at your desk.
- Don’t use your nails as tools: I know, it’s tempting. But prying open soda cans or peeling off stickers with your nails is a shortcut to chips and cracks.
- Top coat refresh: Around day 5 or 6, add another thin layer of top coat to extend the shine and protect the color. Just make sure your nails are clean and dry before you do it.
- File any chips immediately: If you do get a tiny chip or lift, file it smooth. It helps stop the damage from spreading.
And remember—no gel manicure lasts forever. But with the right prep, proper application, and a little daily care, you can get a solid two weeks (or more) out of your at-home work.
LEAVE A COMMENT
Recent Posts


0.0144